dash rice cooker instructions pdf
Dash Mini Rice Cooker Instructions
The Dash Mini Rice Cooker is a compact and versatile kitchen appliance that can simplify the process of cooking rice to perfection. Download the user manual (PDF) for the DASH Mini Rice Cooker Steamer. This compact appliance features a removable nonstick pot, keep warm function, and comes with a recipe guide. Perfect for preparing soups, stews, grains, and oatmeal. Get step-by-step instructions, safety precautions, cleaning…
Introduction
Welcome to the world of effortless rice cooking with the Dash Mini Rice Cooker! This handy appliance is designed to make preparing perfect portions of rice a breeze, whether you’re a seasoned chef or a beginner in the kitchen. The Dash Mini Rice Cooker is a compact and versatile appliance that can simplify the process of cooking rice to perfection. It’s perfect for single-serve cooking, making it ideal for individuals, couples, or even smaller families. With its user-friendly design and convenient features, you’ll be enjoying delicious, fluffy rice in no time.
The Dash Mini Rice Cooker is more than just a rice cooker. It’s a versatile kitchen appliance that can be used to prepare a variety of other dishes, including oatmeal, quinoa, and pasta. This makes it a great addition to any kitchen, as it can be used for breakfast, lunch, or dinner.
This instruction manual will guide you through the safe and efficient use of your Dash Mini Rice Cooker. We’ll cover everything from setting it up to cleaning it, as well as providing helpful tips and recipes to enhance your cooking experience. Let’s embark on this culinary journey together!
Safety Precautions
Your safety is our top priority, so please read and understand these safety precautions before using your Dash Mini Rice Cooker. These guidelines are designed to ensure a safe and enjoyable cooking experience.
General Safety Precautions
- Always unplug the Rice Cooker from the electrical outlet when not in use, before cleaning, or assembling parts.
- Never immerse the Rice Cooker in water or any other liquid. Clean the surface with a soft, damp cloth.
- Do not touch hot surfaces. Use handles or knobs to avoid burns.
- Keep the Rice Cooker away from flammable materials and do not place it on or near a hot burner or in a heated oven.
- Do not use the Rice Cooker outdoors or in damp locations.
- Do not operate the Rice Cooker if it has been damaged or if the cord or plug is damaged.
- Do not use the Rice Cooker for anything other than its intended purpose.
- Do not allow children to operate or play with the Rice Cooker.
- Always supervise children in the area where the Rice Cooker is being used.
- Keep the cord away from heated surfaces.
By adhering to these safety precautions, you can ensure a safe and enjoyable cooking experience with your Dash Mini Rice Cooker. If you have any concerns or questions about safety, please consult the provided user manual or contact customer service.
Preparing the Rice Cooker
Before embarking on your culinary rice-making journey, it’s essential to properly prepare your Dash Mini Rice Cooker. This ensures optimal performance and a seamless cooking experience. Here’s a step-by-step guide to get you started⁚
- Unpack and Inspect⁚ Carefully unpack your Dash Mini Rice Cooker and remove all packaging materials. Inspect the appliance for any signs of damage or defects.
- Wash the Removable Pot⁚ The Removable Pot is the heart of your rice cooker. Wash it thoroughly with warm, soapy water, ensuring to remove any manufacturing residue. Rinse it well and allow it to dry completely before use.
- Clean the Lid⁚ The lid of your rice cooker also deserves attention. Wipe it down with a damp cloth to remove any dust or debris.
- Prepare the Rice Cooker Base⁚ Wipe down the base of your rice cooker with a damp cloth to remove any dust or fingerprints.
- Place the Pot⁚ Once the Removable Pot is dry, place it securely in the base of the rice cooker.
- Plug it In⁚ Plug the Rice Cooker into a standard electrical outlet. You’re now ready to cook delicious rice!
By following these simple steps, you’ve successfully prepared your Dash Mini Rice Cooker for its first culinary adventure. Now, you’re ready to create perfect rice dishes and explore the world of rice cooking with ease.
Cooking Rice
With your Dash Mini Rice Cooker prepped and ready, you’re now equipped to cook delicious rice effortlessly. Follow these simple steps for perfectly cooked rice every time⁚
- Measure Rice and Water⁚ Use the included measuring scoop to measure the desired amount of rice. For most long-grain and medium-grain rice, use a 1⁚1 ratio of rice to water. For short-grain rice, use 1 cup of rice and 1 ¼ cups of water. For brown rice, use 1 cup of rice and 1 ½ cups of water.
- Rinse Rice (Optional)⁚ Rinsing rice before cooking can help remove excess starch, resulting in fluffier rice. To rinse, place the rice in the Removable Pot and add cool water. Gently swirl the rice around and drain the water. Repeat this process until the water runs clear.
- Add Rice and Water to Pot⁚ Pour the measured rice and water into the Removable Pot. Make sure the water level is at the appropriate line for the amount of rice you’re using.
- Secure the Lid⁚ Place the lid securely on top of the Removable Pot.
- Press the Cook Button⁚ Press the Cook button on the rice cooker. The appliance will automatically start cooking and switch to the Keep Warm function when the rice is ready.
- Wait for Completion⁚ Allow the rice to cook undisturbed until the cooking cycle is complete. The Keep Warm function will keep your rice warm and ready to serve.
- Fluff and Serve⁚ Once the cooking cycle is complete, use a fork or spatula to gently fluff the rice. Serve immediately and enjoy!
With your Dash Mini Rice Cooker, cooking rice is a breeze. Enjoy the convenience and delicious results it offers!
Other Cooking Options
While the Dash Mini Rice Cooker excels at preparing perfect rice, its versatility extends beyond just rice dishes. Explore these additional cooking options to expand your culinary repertoire with this compact appliance⁚
- Quinoa⁚ Quinoa, a nutritious grain, can be cooked in the Dash Mini Rice Cooker with ease. Use a 1⁚2 ratio of quinoa to water (1 cup quinoa, 2 cups water). Cook according to the rice cooker instructions, and enjoy fluffy, cooked quinoa.
- Oatmeal⁚ Start your day with a hearty bowl of oatmeal cooked in your Dash Mini Rice Cooker. Use 1 cup of water for every ½ cup of rolled oats. Cook until the oats are tender and creamy.
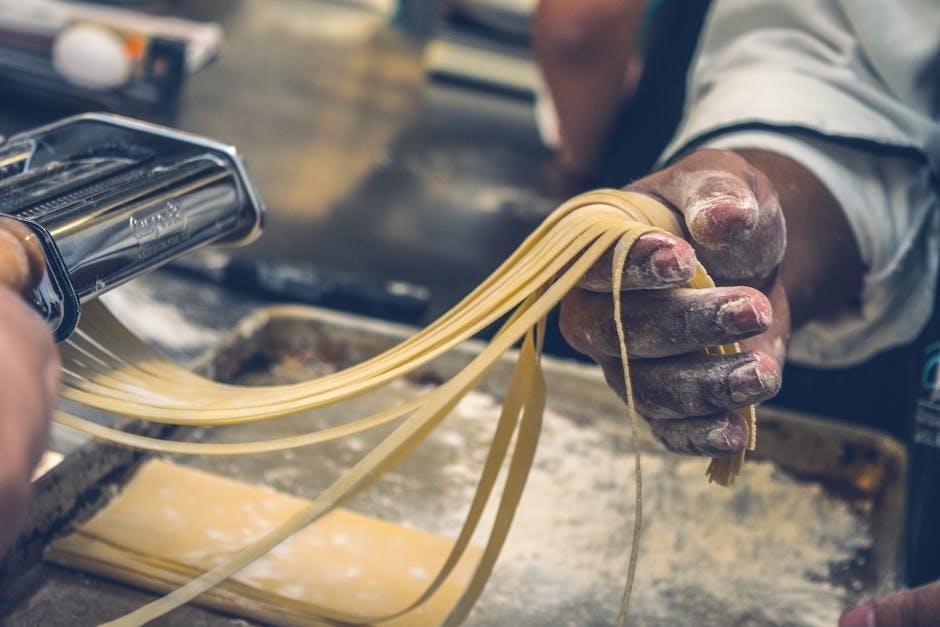
- Pasta⁚ Yes, you can even cook pasta in your Dash Mini Rice Cooker! Use a 1⁚2 ratio of pasta to water (1 cup pasta, 2 cups water). Cook until the pasta is al dente, then drain any excess water.
- Steaming Vegetables⁚ The Dash Mini Rice Cooker can also be used to steam vegetables. Place vegetables in a steamer basket over the water in the Removable Pot. Cook until the vegetables are tender-crisp.
- Soup⁚ Create simple and flavorful soups in your Dash Mini Rice Cooker. Use the Removable Pot to combine your favorite soup ingredients and cook until heated through.
With a little creativity, you can use your Dash Mini Rice Cooker to prepare a variety of dishes beyond just rice. Experiment with different recipes and enjoy the convenience and versatility of this compact appliance!
Cleaning and Maintenance
Proper cleaning and maintenance of your Dash Mini Rice Cooker is crucial for ensuring its longevity and optimal performance. Here’s a step-by-step guide to keep your appliance sparkling clean⁚
- Unplug the Rice Cooker⁚ Always unplug the Dash Mini Rice Cooker from the power outlet before cleaning to prevent any electrical hazards.
- Allow to Cool⁚ Let the Rice Cooker cool completely before attempting to clean it.
- Clean the Removable Pot⁚ The Removable Pot is dishwasher-safe, making cleaning a breeze. Alternatively, you can hand-wash it with warm, soapy water. Avoid using abrasive cleaners or scouring pads, which can damage the nonstick coating.
- Wipe the Inner Lid⁚ The inner lid of the Rice Cooker can be wiped clean with a damp cloth. Avoid submerging the lid in water.
- Clean the Exterior⁚ Wipe the exterior of the Dash Mini Rice Cooker with a damp cloth. Avoid using harsh cleaners or abrasive materials that can scratch the surface.
- Dry Thoroughly⁚ Make sure all parts are completely dried before reassembling the Rice Cooker.
- Store Properly⁚ Store the Dash Mini Rice Cooker in a cool, dry place when not in use.
Following these simple cleaning and maintenance tips will help to extend the life of your Dash Mini Rice Cooker and ensure that it continues to cook delicious meals for years to come.
Troubleshooting
While the Dash Mini Rice Cooker is generally reliable, there might be instances where you encounter some issues. Here’s a guide to troubleshoot common problems and get your rice cooker back in action⁚
- Rice Cooker Doesn’t Turn On⁚ First, check if the Rice Cooker is plugged in securely. If it is, try plugging it into a different outlet to ensure the outlet is working. If the Rice Cooker still doesn’t turn on, it might be faulty and require repair.
- Rice is Undercooked⁚ If your rice is undercooked, it could be due to insufficient cooking time or an incorrect water-to-rice ratio. Ensure you’re using the recommended water levels for your desired rice type. You might also need to adjust the cooking time slightly.
- Rice is Overcooked⁚ Overcooked rice is often a result of excessive cooking time. Adjust the cooking time for future batches to prevent overcooking.
- Rice Cooker Leaking⁚ If the Rice Cooker is leaking, inspect the lid and ensure it’s properly sealed. Check the Removable Pot for cracks or damage. If the leakage persists, it might be a faulty unit and require repair.
- Keep Warm Function Not Working⁚ If the Keep Warm function isn’t working, ensure the Rice Cooker is plugged in. Check the switch or button for the Keep Warm function to make sure it’s engaged. If the function still doesn’t work, it might be a malfunction and require repair.
If you’ve tried the troubleshooting steps above and the issue persists, it’s recommended to contact Dash customer support for further assistance.
Recipes
The Dash Mini Rice Cooker isn’t just for rice! Its versatility allows you to explore a world of delicious dishes, from savory to sweet. Here are some recipe ideas to get you started⁚
- Basic White Rice⁚ For perfect white rice, use the included Measuring Scoop to measure out your desired amount of rice. Rinse the rice thoroughly until the water runs clear. Add the rinsed rice to the Removable Pot and fill it with water to the line corresponding to the number of scoops of rice. Close the lid and press the Cook button. Once the cooking cycle is complete, let the rice rest for a few minutes before serving.
- Brown Rice⁚ Brown rice requires a slightly different water-to-rice ratio than white rice. Use 1 cup of brown rice and 1 ½ cups of water. Follow the same cooking instructions as for white rice, adjusting the cooking time as needed.
- Quinoa⁚ Quinoa is a healthy and delicious grain that can be cooked in the Dash Mini Rice Cooker; Rinse 1 cup of quinoa and add it to the Removable Pot. Fill the pot with 1 ½ cups of water. Cook according to the instructions for white rice.
- Oatmeal⁚ Start your day with a hearty bowl of oatmeal. Combine 1 cup of rolled oats with 1 ½ cups of water or milk. Add a pinch of salt and your favorite toppings, such as fruit, nuts, or brown sugar. Cook according to the instructions for white rice.
- Steamed Vegetables⁚ Use the steamer basket to create healthy and flavorful steamed vegetables. Place your favorite vegetables in the basket, ensuring they are not overcrowded; Fill the Removable Pot with a small amount of water, just enough to create steam. Cook according to the instructions for white rice.
Remember to always consult your Dash Mini Rice Cooker instruction manual for specific cooking times and water ratios for different ingredients. Get creative and experiment with different recipes to discover your own favorite ways to use your Dash Mini Rice Cooker!
Warranty Information
Dash offers a limited warranty on their products, including the Mini Rice Cooker. This warranty covers defects in materials and workmanship for a specified period. To understand the specifics of your warranty coverage, it’s essential to refer to the warranty information provided with your Dash Mini Rice Cooker or access it on the Dash website.
Here’s what you generally need to know about Dash warranties⁚
- Warranty Period⁚ The warranty period typically varies depending on the specific product. Check your user manual or the Dash website for the duration of your warranty.
- Coverage⁚ Dash warranties usually cover defects in materials and workmanship. This means that if your rice cooker malfunctions due to a manufacturing error, Dash will repair or replace it, free of charge, within the warranty period.
- Exclusions⁚ Dash warranties typically exclude damage caused by misuse, neglect, accidents, or unauthorized repairs. Additionally, normal wear and tear are not covered.
- Proof of Purchase⁚ To claim your warranty, you’ll need to provide proof of purchase, such as a receipt or order confirmation. This helps Dash verify that your product is within the warranty period.
- Contact Information⁚ If you experience any issues with your Dash Mini Rice Cooker within the warranty period, contact Dash customer service for assistance. They can help you troubleshoot the problem and guide you through the warranty claim process.
Always keep your purchase receipt and user manual handy for easy access to warranty information.